
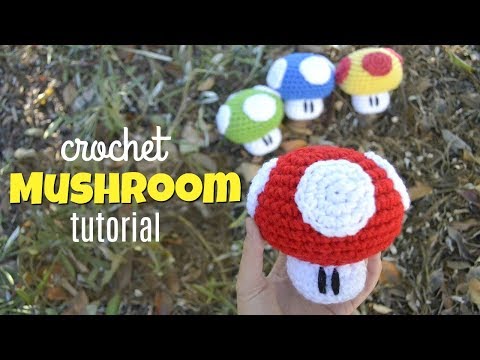
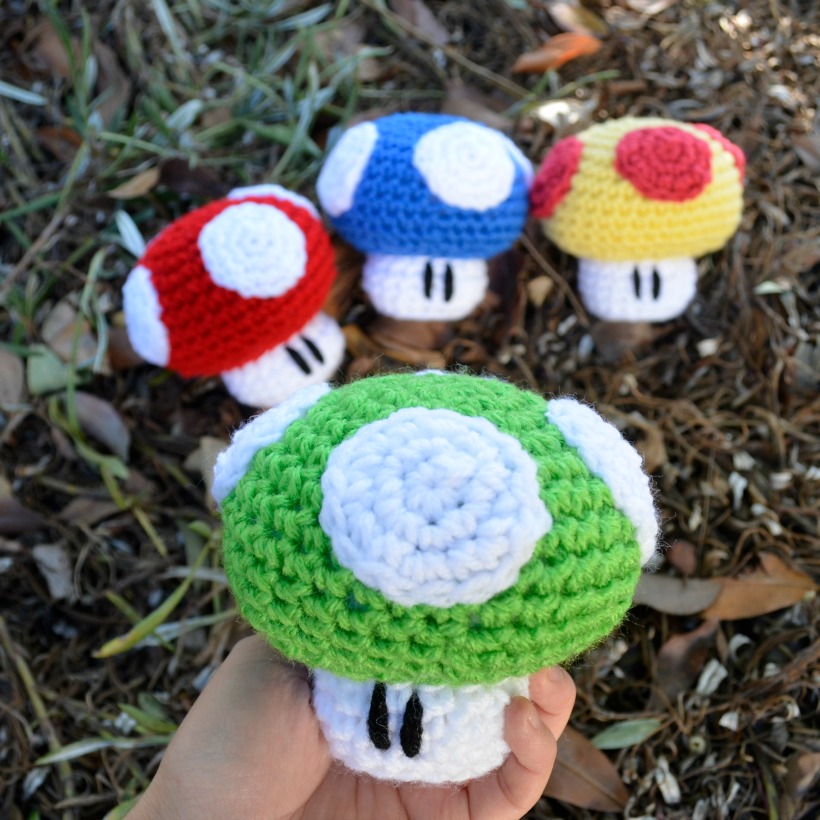
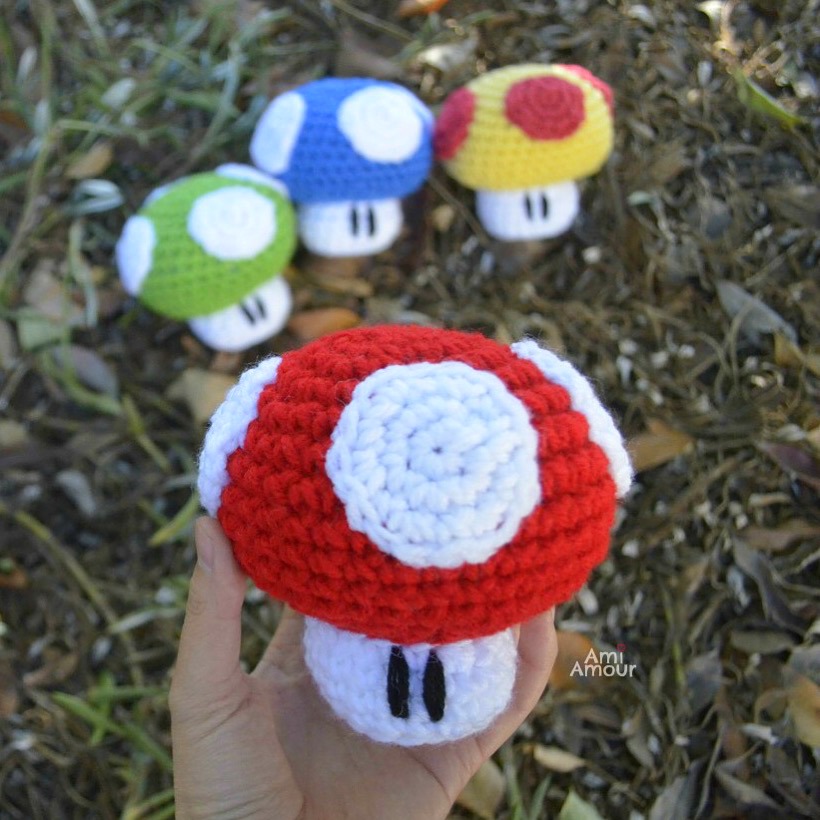
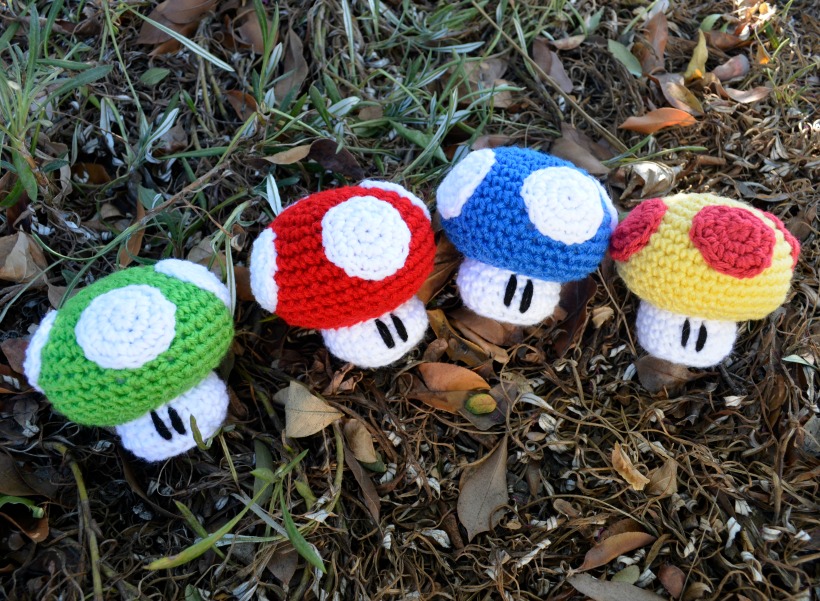
I know there’s plenty of Mario Mushroom patterns out there, but I thought I’d throw mine into the mix. They multiply like Fungi! Make yourself a Power-Up or a 1-Up or any other color Mushroom that you wish!
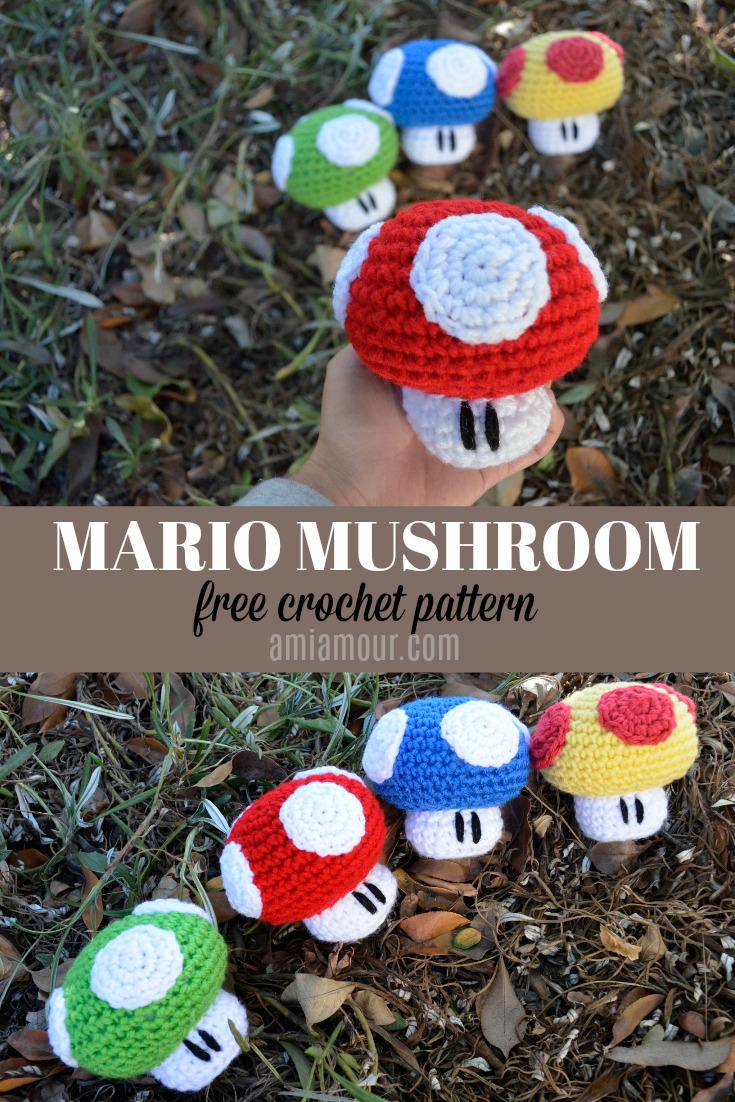
This is a free crochet pattern that is super quick and fun to work up!
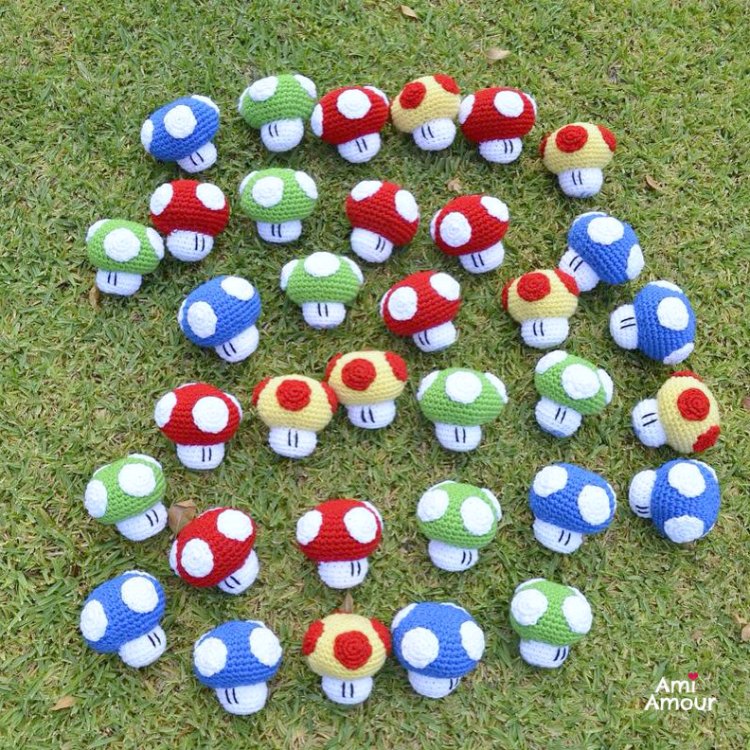
At one point I made 34 mushrooms all at one time. Phew, were my hands tired, but what a pretty and colorful sight they were all together!
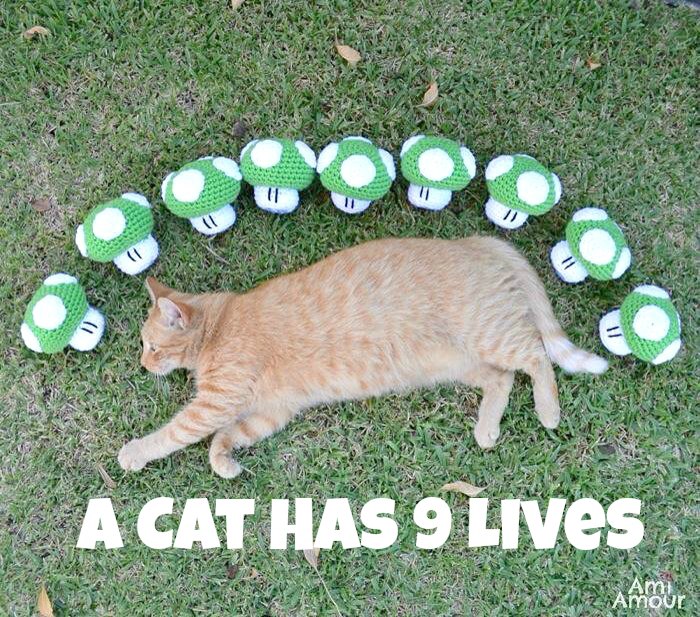
And here’s our cat, Hobbes. All of a sudden when I stared at her, I found out I could see all her lives. I guess that saying is true!
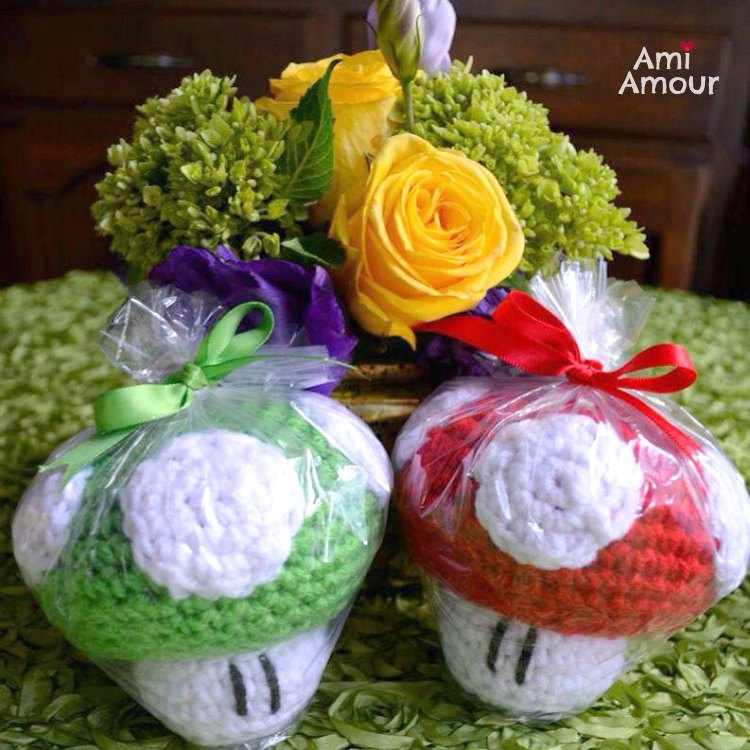
The mushrooms also make great party favors! Here they are dressed up a bit in a clear bag and with a matching ribbon!
Well hope you have fun with your mushrooms no matter what you decide to do with them! You can also make all the power-ups including the crochet Star that makes you invincible and the Fire Flower.
If you like this pattern, do check out my Pokemon Amigurumi Collection!
And please do subscribe to my blog to get all my latest pattern updates!

Yet Another Mario Mushroom Pattern is copyrighted under the Creative Commons Attribution-Noncommercial-No Derivative Works 3.0 License. This pattern is for personal use only. Feel free to make this for yourself or to give as gifts to people. However any sale, reproduction, or distribution of the pattern without permission is strictly prohibited.
Disclosure: This post contains affiliate links. This means I may receive a small commission if you decide to purchase anything by clicking on one of these links.
I’ve also created a video tutorial so you can see the Mario Mushroom amigurumi in action as well as crochet along with me!
Mario Mushroom Crochet Tutorial Video
Yet Another Mario Mushroom Pattern
SKILL LEVEL: Easy
CROCHET HOOK: Size H-8 (5 mm)
YARN:
Red Heart Super Saver
#319 Cherry Red
#316 Soft White
#312 Black (optional for Eyes)
NOTIONS:
Polyester Fiberfill
Black Felt
Yarn Needle
APPROXIMATE SIZE: 4.5 inches.
NOTES: Do not join rounds. Rounds are worked continuously in a spiral. Stuff as you go.
TIPS:
Use a bobby pin as a stitch marker to mark your rounds!
For sc dec, use the invdec (invisible decrease) by decreasing in the front loops of the stitches
MUSHROOM CAP
Round 1: 6 sc into adjustable ring.
Round 2: 2 sc in each st around – 12 sc.
Round 3: [2 sc in next st, sc in next st] around – 18 sc.
Round 4: [2 sc in next st, sc in next 2 sts] around – 24 sc.
Round 5: [2 sc in next st, sc in next 3 sts] around – 30 sc.
Round 6: [2 sc in next st, sc in next 4 sts] around – 36 sc.
Round 7-10: Sc in each st around.
Round 11: [2 sc in next st, sc in next 17 sts] around – 38 sc.
Round 12: [Sc dec, sc in next 17 sts] around – 36 sc.
Round 13: [Sc dec, sc in next st] around – 24 sc.
Round 14: [Sc dec, sc in next 2 sts] around – 18 sc.
Fasten off.
MUSHROOM STALK
Round 1: 6 sc into adjustable ring.
Round 2: 2 sc in each st around – 12 sc.
Round 3: [2 sc in next st, sc in next st] around – 18 sc.
Round 4: In Back Loop Only [2 sc in next st, sc in next 8 sts] around – 20 sc.
Round 5-6: Sc in each st around.
Round 7: [Sc dec, sc in next 8 sts] around – 18 sc.
Fasten off, leaving a long tail.
MUSHROOM CIRCLES (Make 4)
Round 1: 6 sc into adjustable ring.
Round 2: 2 sc in each st around – 12 sc.
Round 3: [2 sc in next st, sc in next st] around – 18 sc.
Fasten off, leaving a long tail.
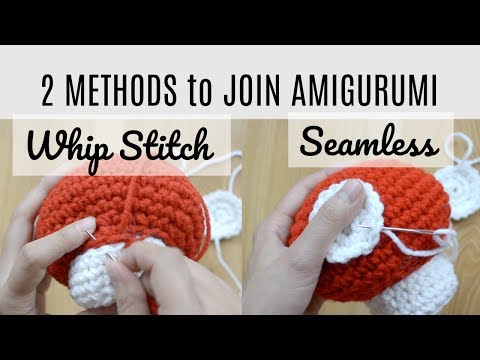
I’ve also created a video that takes you step by step on how to assemble and sew your Mario Mushroom Crochet Amigurumi project.
I like to use the whip stitch for the stalk and seamless stitch for the circles. Take a look here!
Mario Mushroom Crochet Amigurumi Assembly Video
Assembly
1. Stuff the Cap and Stalk with stuffing.
2. Sew Mushroom Stalk onto Mushroom Cap.
3. Sew the 4 circles onto the Cap, equally spaced out and facing a different direction.
4. For the eyes, you have 2 options. Option 1: Embroider a straight line going down with black yarn. Option 2: Using black felt, cut out 2 skinny rectangles with rounded edges and glue on with Fabri-tac. The eyes should be placed on the stalk so that there is a white circle directly lined up above on the cap.
CONGRATULATIONS! You have just created your very own Mario Mushroom!
Don’t forget to share your project with me on my Instagram or Facebook


22 Comments
Amy
June 21, 2011 at 10:54 pmCute pattern! You’ve got a typo in the mushroom cap section, though, just fyi… it goes from round 11 back to 10, 11, 12.
Vissa får matcravings, andra virkar « Home and Happiness
September 2, 2011 at 2:29 pm[…] Crochetra . Röd minirobot efter mönster från Virkverket. Super Mario svamp efter mönster från Ami Amour. Röd virkad nalle efter mönster från en veckotidning som mamma sparat Ubåten efter mönster […]
Crocheting Amigurumi « illusionless
October 7, 2011 at 5:19 pm[…] far I’ve made him a Kirby, a Goomba, and the Mario Invincibility Star. The latest is of the 1-Up Mushroom, and I think this one is my favorite. Took me a little more than a hour from start to […]
Made on monday | In het land van Pippi…
February 15, 2012 at 12:49 pm[…] internet kwam ik verschillende patroontjes tegen van paddenstoeltjes. Laat ik nou net zo gek zijn van paddenstoeltjes!!Ik vond het grappig om het eens te proberen en […]
Yumna
March 10, 2012 at 7:00 pmIts so cute! I scaled down the pattern to make one fit for a keychain. I love it, thank you so much!
Häkel mich! (Der Super-Mario-Pilz) « gamesartfun
April 5, 2012 at 4:20 pm[…] Das Muster, das ich damals verwendet hab findet man HIER. […]
Juli
May 21, 2012 at 3:02 amI’ve been crocheting for most of my life and I don’t know what “sc into adjustable ring” means. Can someone please explain it to me? Thanks!!
toomanyguppies
July 16, 2012 at 2:39 amIt means that you should make single crochets not into the chains but into the actually rings.
Is that what you were asking?
Jill
January 23, 2013 at 9:46 amIt means you must make a magic circle, which is also an adjustable ring. There are many videos on this. Just youtube it. then you single crochet 6 times into the magic circle/adjustable ring.
toomanyguppies
July 16, 2012 at 2:37 amI really love this pattern and have made a couple as gifts for my family.
Do you think that I might have permision to sell some of your wonderful mushrooms at a local comicbook show? A friend of mine is going to have a table and said I could make somethings for it. I would love to make some of these great mushrooms for the people of my town and I could really use the money. I would be more then happy to make take with your webside on them and include them with each one.
Thanks so much for your time, and all of the great patterns on this site.
Lexi
November 13, 2012 at 7:27 amI am about to make a few for Christmas gifts and wondered what the consensus on eyes was….does the final product look best with felt eyes or stitched eyes?
Thanks
X
Ami Amour
November 13, 2012 at 7:51 amHi Lexi, I like to make mine with black yarn now. I just sew in the straight lines and it comes out great! Hope that helps.
Joy
April 22, 2014 at 1:51 amI like this mushroom very much, it is so cute.. I made a lot of mushroom and give my friend’s little boys and girls. Of course my boy also. And they like it very much. Thank you very much.
Elizabeth
October 30, 2015 at 8:20 amHi there! I love this pattern!!! Thank you so much for sharing. Do you think it will still look good with felt circles on the mushroom caps?
Ami Amour
October 30, 2015 at 3:37 pmHi, Elizabeth! Yes, I think it’ll still look terrific with felt circles as well! Love to see how they turn out =)
Then Vs Now: Mario Mushroom – Pleasant Plushies
July 7, 2018 at 1:02 pm[…] you’d like to make your own Mario Mushroom, use this pattern by Ami […]
Isabel
August 15, 2018 at 9:17 pmThanks for sharing, it was What i was looking to complete a birthday presente!
Ami Amour
August 15, 2018 at 9:26 pmYour welcome! So glad it was helpful and happy birthday to the recipient!
Amber
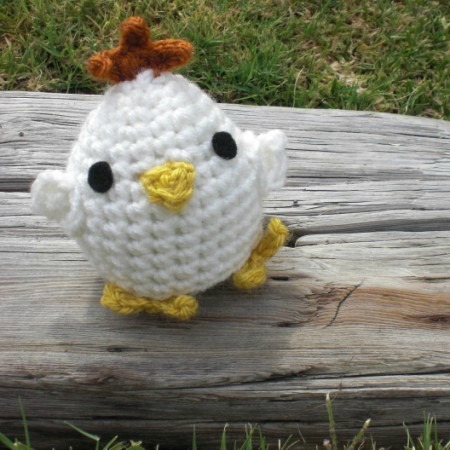
February 18, 2019 at 11:28 amThis is the first time I have made an amigurumi crochet project by just looking at the pattern. I usually find it easiest to crochet via YouTube tutorials. I had completed your duck YouTube video as my first ever project with crochet (though I had crocheted with loom bands before). This mushroom is absolutely adorable and turned out so well! Thanks for the great instructions! <3
Ami Amour
February 18, 2019 at 11:37 amHi Amber, that makes me so happy to hear! Yes, when I make my video tutorials, I like to write out the pattern in the caption so that way people can also learn to read and follow the patterns. Congratulations on your first amigurumi crochet project with the Duck! I’d definitely love to see how both the duck and the mushroom came out.
Allison Moore
October 24, 2019 at 10:50 amThanks for the pattern. I’m actually using the pattern and had slightly modifying it (made the mushroom stem a little bigger) for a puff shroom on the app/game Plants Vs Zombies. They don’t make the plushie so my son wanted me to make it so I chose crocheting over sewing. It’s the perfect size and it has similar circles on top too. I will try to share it with you once it’s complete. I absolutely love the fact you shared using a Bobby pin as your stitch marker as it’s my favorite stitch marker for most projects!! Thanks again!
Ami Amour
November 19, 2019 at 2:52 pmHehe, yes bobby pins make such great stitch markers! I like it because it’s just so simple to take in and out of the stitches. Glad to see another crocheter on the bobby pin boat lol! Ooh your Plants Vs. Zombies project sounds amazing. I’d definitely love to see how it came out!